【Photoshop初心者】GIFアニメーションの作り方

今回はPhotoshopでGIFアニメーションの作り方をご紹介します。

動きのあるサイトが動画よりずっと小さい容量で作れるのでおすすめです
GIFアニメーションの作り方
画像を用意します
GIFアニメーションはパラパラ漫画のようにPNG画像を表示して動きのある画像にしていますので、このような画像を連番で用意します。
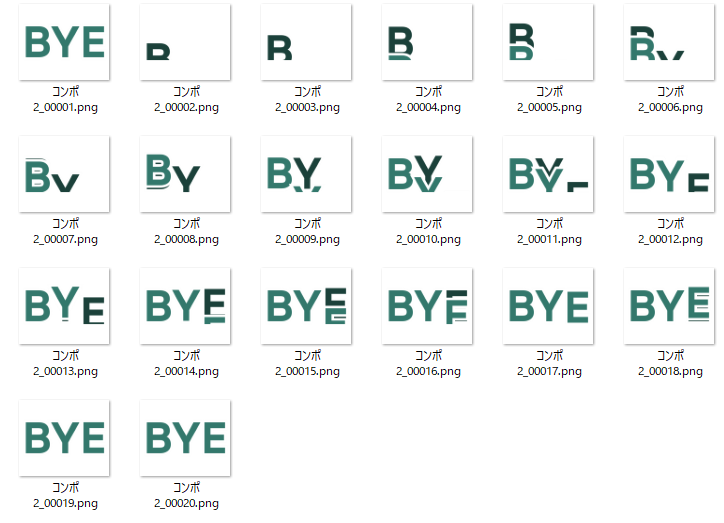
今回は20枚用意しましたが、まずは4枚ほどから始めても面白い動きが出来るので少ない枚数から始めるのも良いでしょう。
そして1つのフォルダーに入れます
例えば下のようなアニメーションなら2枚の画像で出来ます。

Photoshopを立ち上げます
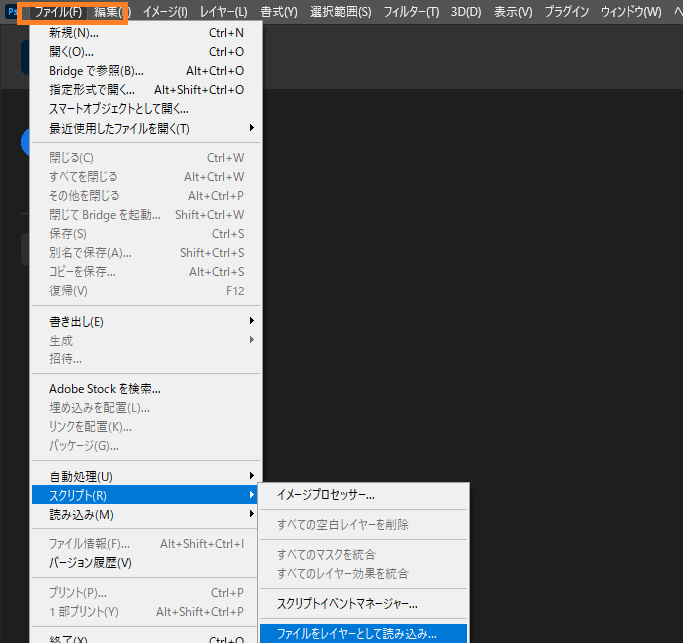
【ファイル】から【スクリプト】【ファイルからレイヤーとして読み込み】
ポップアップが出ますので

【フォルダー】を選択して参照から画像が入っているフォルダーを選択します。
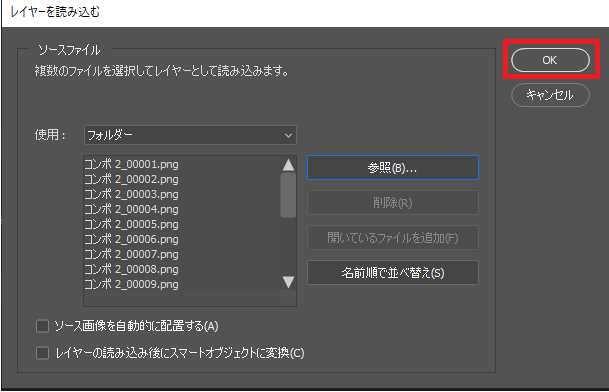
画像が選択されたのを確認して【OKI】
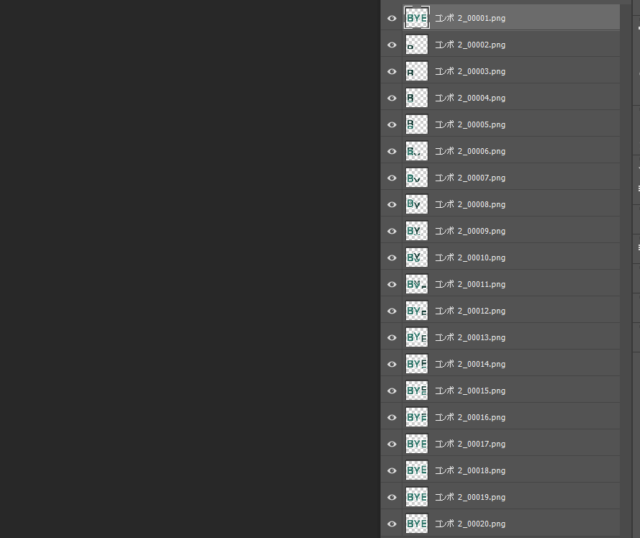
レイヤーにこのように画像が配置されました。
フレームアニメーションを作成
次に画面下部の【フレームアニメーションを作成】をクリックします
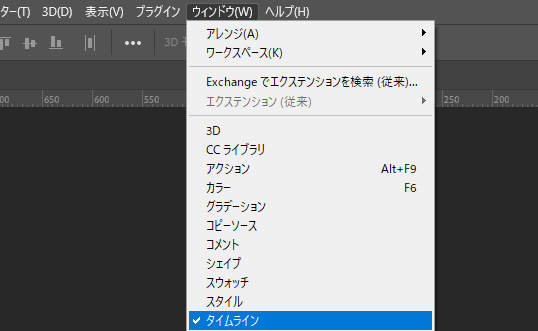
出てない方は【ウィンドウ】から【タイムライン】を選択します
【ビデオタイムライン】となっている方は下向き三角から【フレームアニメーションを作成】にします

すると一枚画像がタイムラインに表示されました。

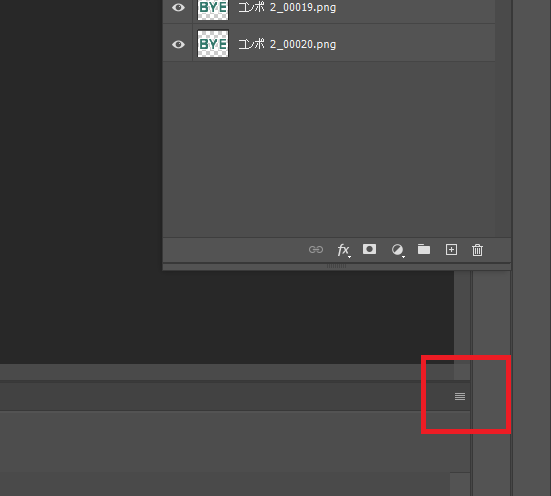
次に右下の赤枠のところを開いて【レイヤーからフレームを作成】を選択します
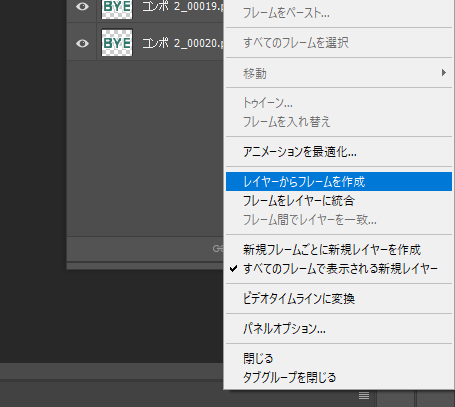
すると全ての画像が入ります

再生してみましょう。
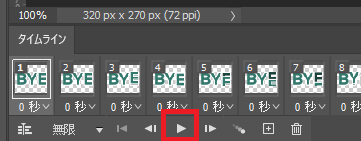
アニメーションが逆になっているので先ほどの右下から【フレームを入れ替え】で順番を入れ替えます。
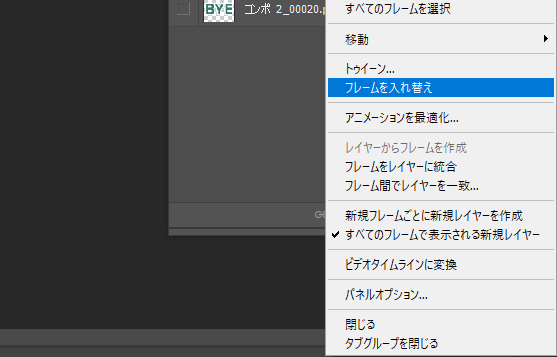
再生すると今度は順番どおりに再生されます。
再生回数も【無限】の横の下向き三角から選ます【その他】を選択すると回数を入力できます。

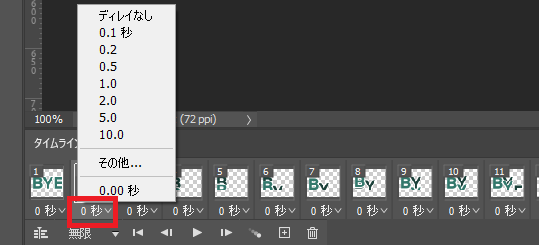
更に速さも選べます。
少し早いなとか遅いなと思ったら秒数を変えます。
書き出し
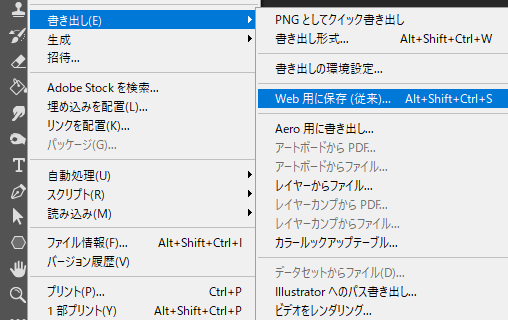
【ファイル】から【書き出し】【Web用に保存従来】を選択します。
プリセットから【GIF】を選択します

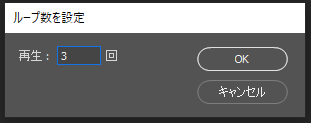
回数もここから選べます。
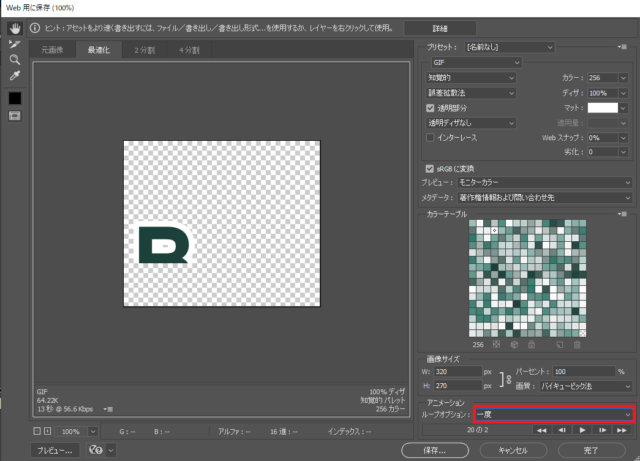
今回は3回にしました
完成

Photoshop記事一覧